Questions and answers
2828How do I create a glossary?
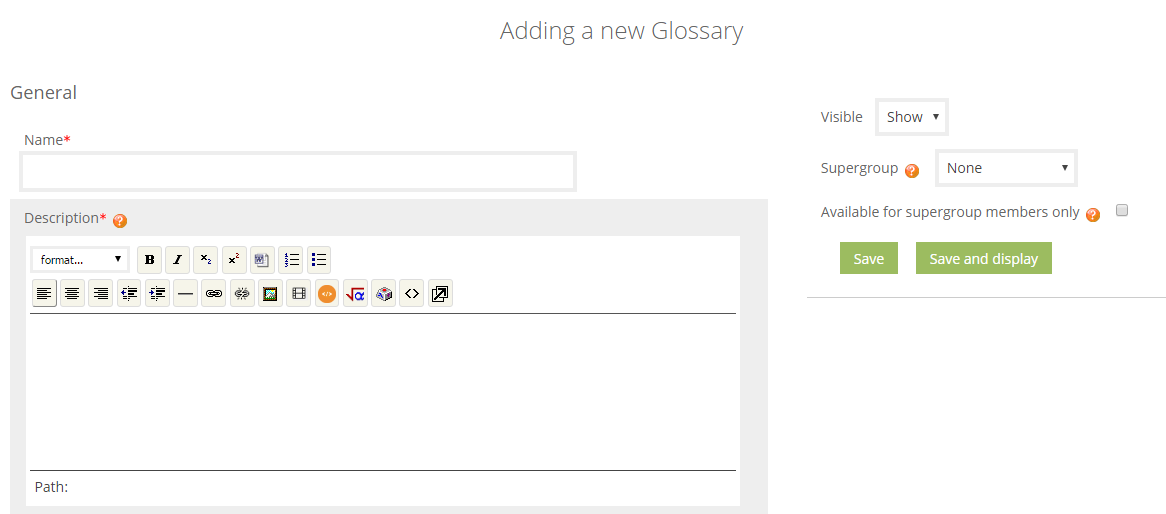
To create a new glossary for a module site, click +Add Activities and select Glossary.
Give your glossary a name and write a brief description.
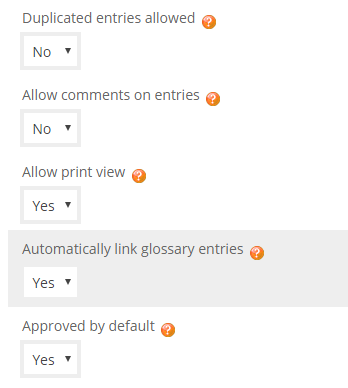
You have many more options, such as applying group settings, but the settings you are most likely to want to use are:
Duplicate entries allowed. If you turn this option on, then multiple entries are allowed to use the same concept name. If you want students to add their own definitions this setting will be useful.
Allow comments on entries. If you want tutors to give feedback on glossary entries this will be needed.
Automatically link glossary entries. Turning this feature on will allow individual entries in this glossary to be automatically linked whenever the concept words and phrases appear throughout the rest of the module site. Once this is enabled you can set linking for each entry.
Approved by default. This setting allows the teacher to define what happens to new entries added by students. They can be automatically made available to everyone, otherwise the teacher will have to approve each one.
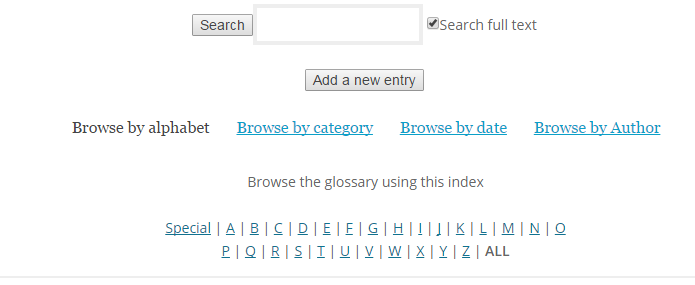
Once your glossary is created you can start adding entries.
Click on the glossary and then Add a new entry.
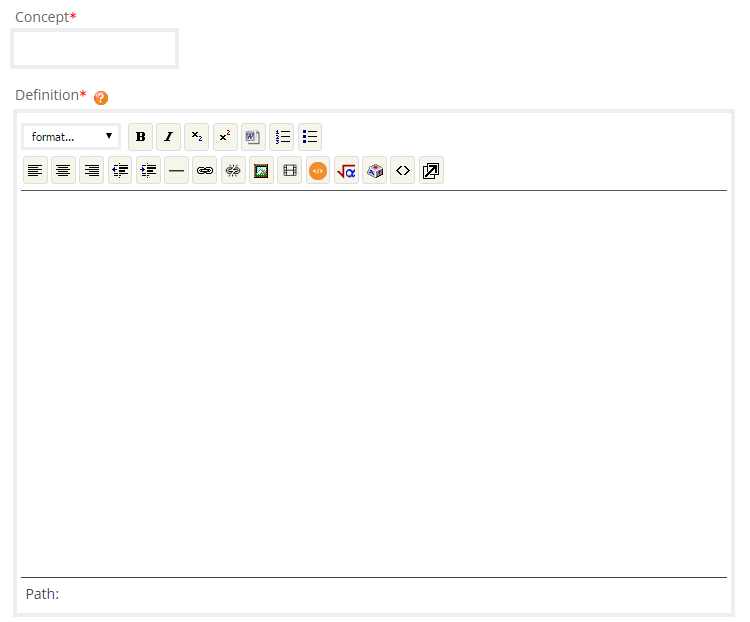
Type in the concept/word you are defining and the definition/explanation.
You can then scroll down to select more options.
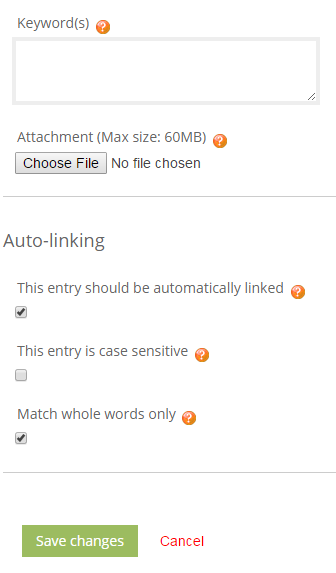
Keywords.
Each entry in the glossary can have an associated list of keywords (or aliases).
Enter each alias on a new line (not separated by commas).
The aliased words and phrases can be used as alternative ways to refer to the entry. For example, if you are using the glossary auto-linking filter then the aliases will be used (as well as the main name of the entry) when deciding what words to link to this entry.
Auto-linking allows entries to be hyperlinked when the word (or keyword) is used on the site.
Adding glossary entries to a block
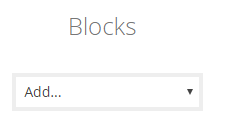
To add a block for your glossary, click the pencil icon at the top of the page then go to Blocks (left hand side of screen).
From the drop-down list, choose Random glossary entry.
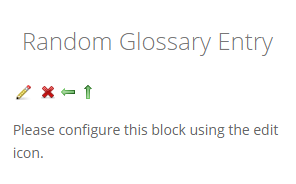
This will create an empty block at the right of your site.
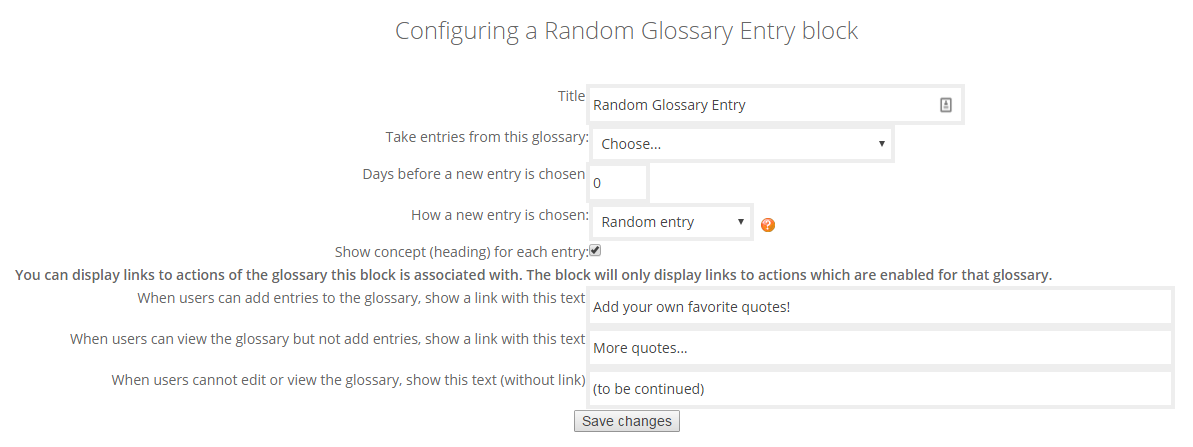
Click on the edit icon (pencil) to choose how you want your block to look.
You can:
-
Give the block a new name
-
Choose which glossary you want to use
-
Set how often you want the entry to change (Days before a new entry is chosen)
-
Decide what you want to display. Last modified entry will always display the entry that was last modified, and Random entry will choose a new one at random every time. The option Next entry will cycle through the entries in order. This last option is especially useful when a number of days is also chosen, allowing you to make a ‘Quote of the week’ or a ‘Tip of the day’.
When you are happy with the settings, click Save changes. You can come back and edit this at any time using the edit icon in the block.
Help us to improve this answer
Please suggest an improvement
(login needed, link opens in new window)
Your views are welcome and will help other readers of this page.
Categories
This is question number 2828, which appears in the following categories:
- > 4. Activities > Glossary
- > Blocks
